
Services
Solutions
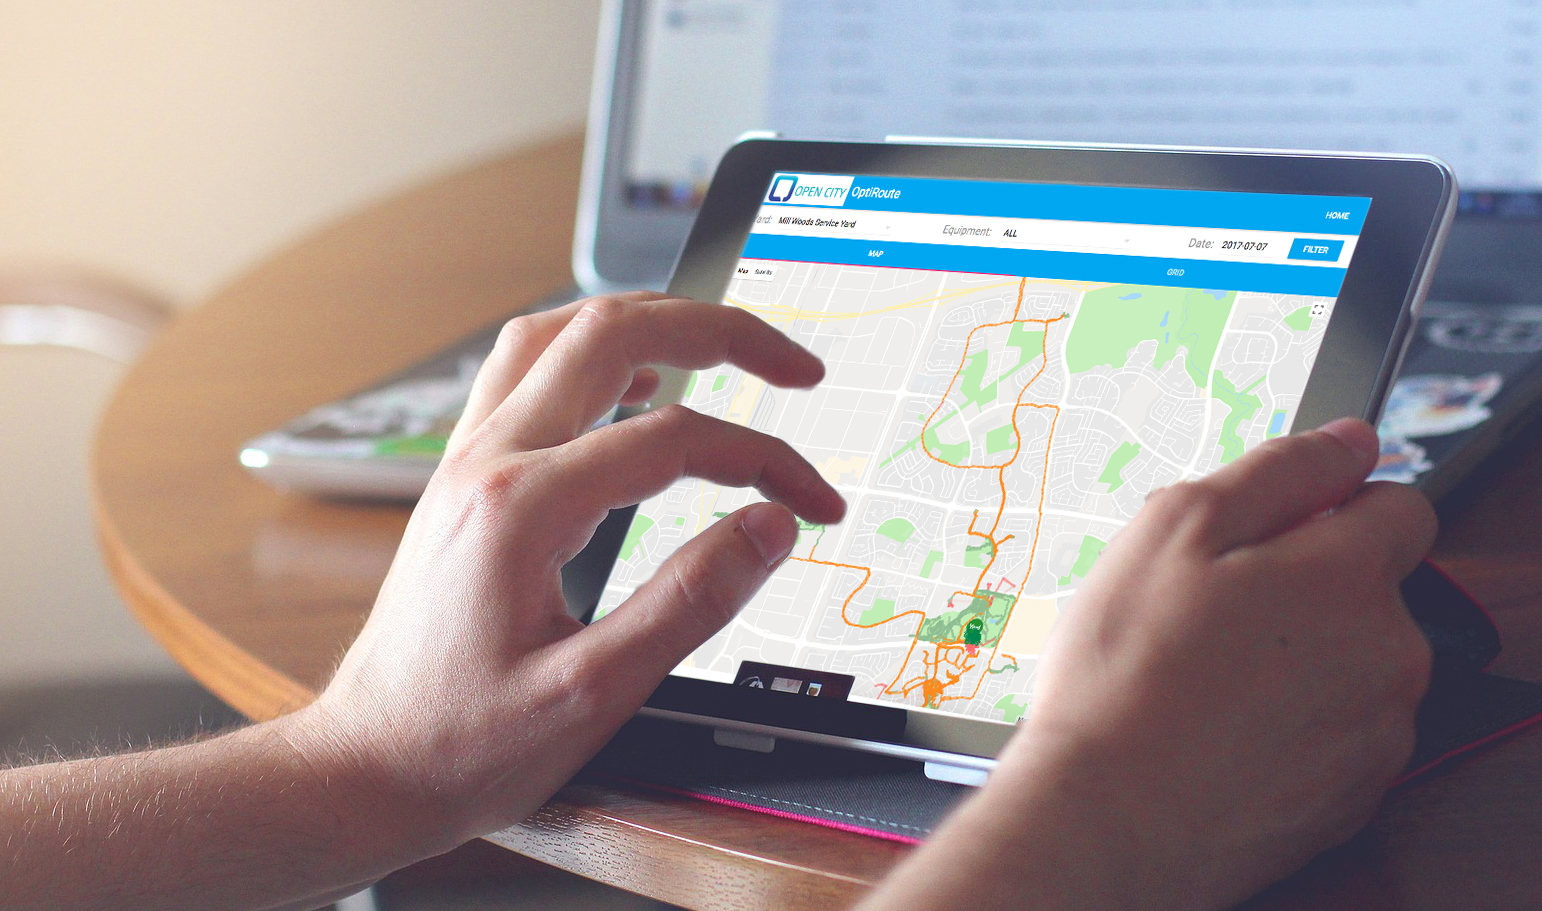
Live Location Tracking
Most recently, I worked with City of Edmonton Advance Analytics Excellence Team to optimize City Turf Maintenance across the city decreasing cost and greenhouse gas emissions. I designed and implemented a cross-platform mobile app to track mower daily operation. This project is the winner of the Charles Labatiuk Award for Environmental Excellence 2017.
The same app and dashboard system has also been used by ePark department route optimaztion project reducing 8% travel distance and 12% waiting time.

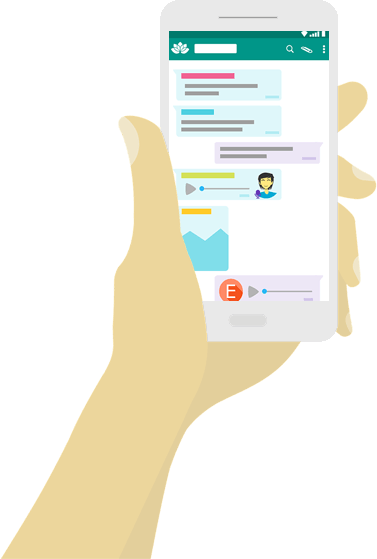
Video OnDemand and Live Stream App
Based on IBM Cloud Video (Ustream) platform, content owner can reliably stream live and on-demand video to large audiences and measure results in real time.
Hundreds of workout videos are accessable on iPhone and iPad, AirPlay and Google ChormCast support, also a standalone app for Android tvOS and Roku Appstore.
Adjust video quality for different speed connections, favorate vidoes. In app purchase to easily subscribe membership. Touch ID and Face ID support.
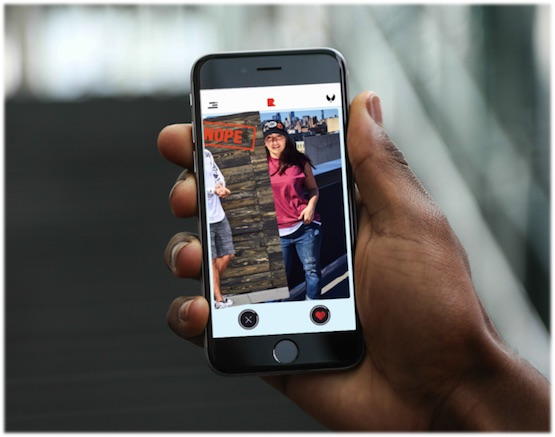
eCommerce App
RIGit: A Genderless Shopping App RIGit Wants to Create a Safe Space for Users, with personalized categories, and swipe browsing style.
Stripe payment gateway. Tax calculation API based on different tax rate in States. Custom Suggestion data backed by Machine Learning.
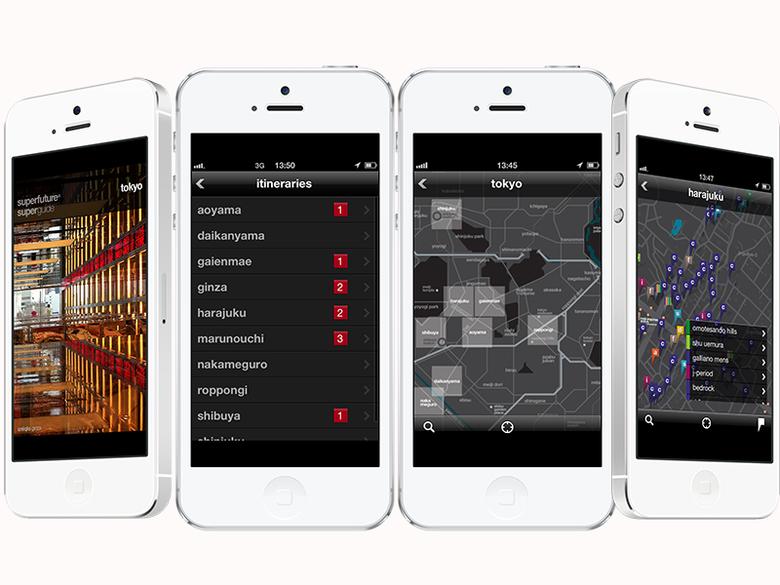
Gallery
Launch your app?
As the number of apps in the market skyrocket, the challenges for app marketers continue to grow. While some miraculous overnight successes will pop up every now and then, having an app marketing plan in place now is crucial to the success of every app. Get started with me.